
There are many reasons why people organize their photos:
- Maybe there’s an event you want to commemorate via a slide show or photo book
- Or you’re worried about preserving your collection for the future
- Or perhaps it’s just a constant battle to find the images you need
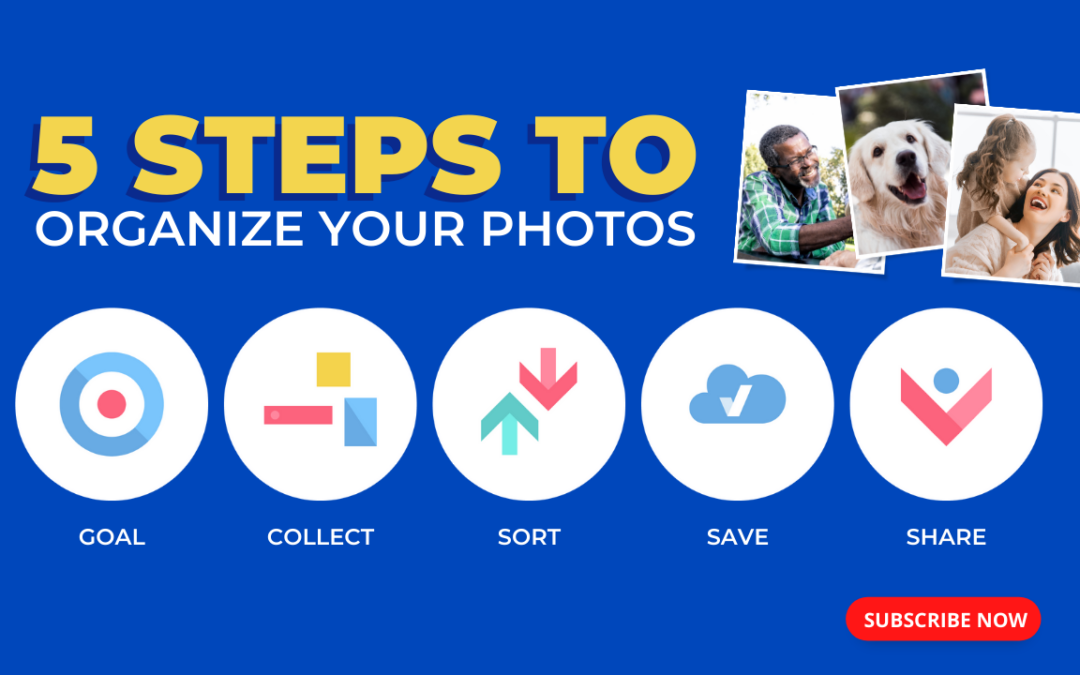
No matter the reason, you’ve come to the right place. Here are the five steps to get you started:
1) The first step is to DEFINE YOUR GOAL — especially if there’s a deadline!
2) Step Two is to GATHER EVERYTHING and INVENTORY what you’ve got. This can be as simple as “3 hard drives,” “4 iPhones,” and “5 boxes of printed photos.”
3) Step 3 is to SORT and CATEGORIZE – Sort these photos into categories that make sense to you. Categories might include location, date range, events, products, or something thematic like “landscapes.” Edit your collection as you go, discarding or deleting duplicates, and any blurry or “not so great” images.
4) Step 4 is SAVE. if you have any printed photos or slides, now is the time to scan. Decide if you want to do it yourself or hire a professional to do it for you. Then create a digital photo hub on your computer. This is the primary location for your entire collection. Combine any scanned material with your existing digital photos and videos into folders within each category. Add descriptive filenames or keywords as you go. Also, make a backup copy and upload your images to a cloud service as a second backup. And don’t forget to plan how you’ll add new photos, as photo collections require maintenance.
5) Now for the FIFTH AND FINAL STEP— you get to SHARE… the options are endless…photo books, websites, slideshows, stunning marketing campaigns, even the collection itself!!
To learn more about organizing your photos, order your copy of Photo Organizing Made Easy and join our private Facebook Group – Photo Organizing Hub.
Recent Comments