
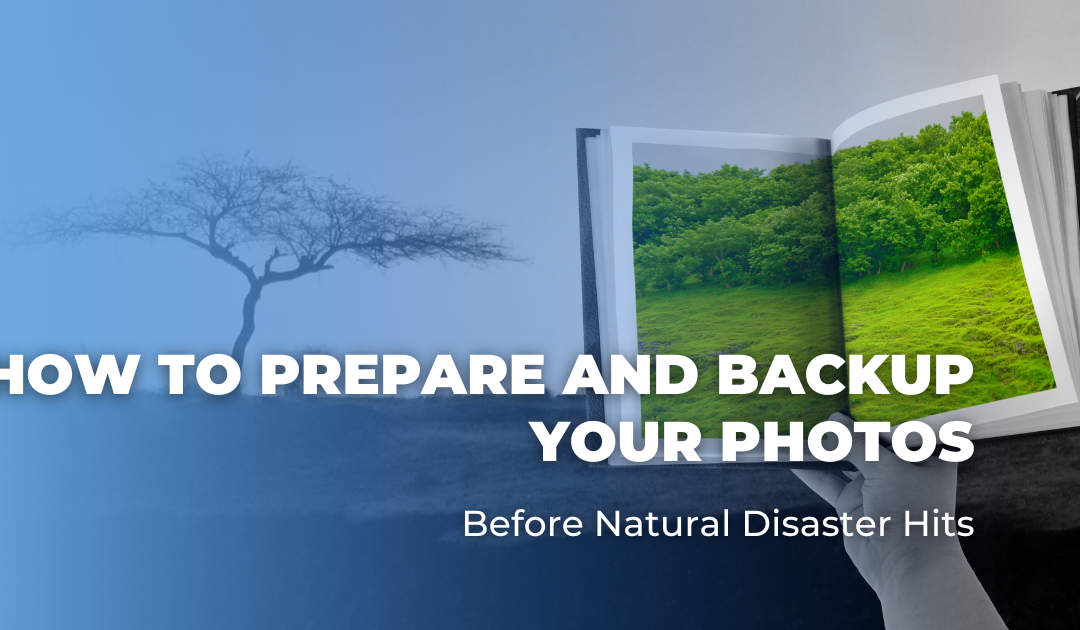
Photo Organizer Chantal Imbach of Simply In Order wants you to be prepared, keep your photos safe and have peace of mind in the face of a natural disaster. Here’s how.
How would you feel if you lost all your photos? Devastated? Sad? Shocked? Traumatized? Distressed? Overwhelmed? Probably some of these and more. Let’s make sure that you will never have to experience these feelings with regards to your precious photo collection!
There are many other – and more likely – ways that we can lose photos: a house fire, stolen cameras or devices, damaged hard drives, lost devices, damaged photo prints due to incorrect storage, drowned phones, and many more. So, in any case, it is good to know that photos are safe and backed up because things do happen.
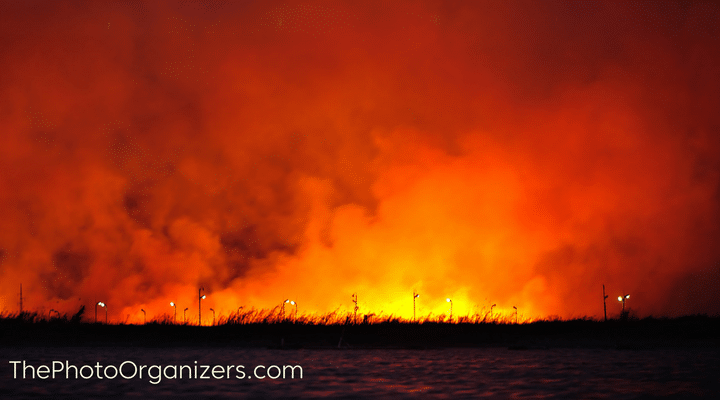
However, if you live in a natural disaster-prone area, you’ll want to take some additional precautions and prepare for the worst. Living in a bushfire prone area in Australia, I am very aware of the stress it can create to even think about losing everything.
Let’s talk about two scenarios: the ideal one in which all your photos are backed up, and the other – sometimes more realistic – option if you’re in a hurry and don’t have the time to work through your whole photo collection but need to evacuate from your home.
[bctt tweet=”It’s good to know that #photos are safe and backed up because things do happen.” username=”photoorganizers”]
Scenario 1: How to back up your photo collection before natural disaster strikes
In an ideal world, your complete photo collection should be backed up at all times. If we have to start this project from scratch, it is usually a big one and won’t be completed in one rainy day. So, as with any project, we need to break it down into feasible steps and tasks.
1. Vision
Sit back for a minute and think about what you eventually want to do with your photos. Are you leaving a meaningful photo legacy? What should that look like? Are you making albums or photo books? Photo gifts? Slideshows?
Write down your vision. It will help you make decisions in the decluttering stage and you will always have that goal in mind which can be very helpful when it gets tough.
2. Assess your photo collection
It is only possible to make a proper assessment of what you have when you see it all together. So, go photo hunting and gather everything you can find that is photo related: albums, frames, loose prints, etc.–and don’t forget the digital photos.
You don’t need to count everything in detail but it helps to create an inventory listing, for example, how many albums you have and maybe with an estimated number of photos in them. If you have loose photos, it might be helpful to know that a pile of 100 prints measures approximately 1 inch. That’s good enough; don’t spend too much time here.
Even if you are in a hurry and can’t backup the collection, this is as far as you should go in any case

.
3. Sort, declutter and organize your photos
This will probably be the most time-consuming step in the whole process. If you don’t have time now, you can always do it later.
Just jump right to the ‘grab and run’ step. You probably already did a basic sorting by piling things into categories during the gathering process. You might now have a pile with albums, one with old slides, loose prints, etc. I like to use the ABC’s of Photo Organizing Method, developed by Cathi Nelson, the founder of APPO (Association of Personal Photo Organizers). Read more about it here.
This method works with prints and digital photos equally. Digital is even easier; just use ratings or keywords.
4. Backup your printed photo collection
You only have two options to back-up a printed photo collection: make copies or digitize it.
In this day and age, it goes without saying that scanning your printed photos is the way to go. You can do this yourself or outsource the scanning to an expert, such as a personal photo organizer (find one here).
The better you dealt with the previous step of sorting, decluttering, and organizing your photos, the easier and more affordable the scanning will be. If affordability is an issue, please think back to the feelings you might experience if you lost your photos … maybe it is worth the expense after all? The great thing is that it is a once off expense. Maybe ask family members to chip in since chances are that they will benefit from this, too.
We recommend keeping the original prints as an additional backup. However, no need to create elaborate albums, you can simply keep them in an archival box. If your photos already are in albums, you don’t necessarily have to dismantle them. Take good photos of your album pages as a backup or scan them.
Now that your prints are digitized you’re almost there! They will now be added to your digital collection and backed up from there.

5. 3-2-1 … Back-up your digital photo collection
- Gather all your digital photos in one place (this includes your scans). We like to call this the digital photo hub. This can be on a computer, an external hard drive or in the cloud and it doesn’t matter whether you use photo management software or just a simple folder structure in your Windows Explorer or Mac Finder.
If you choose to have your photo hub in the cloud, please be very mindful of what provider you use and always read the small print! - Backup your digital photo hub, even if it is still messy!
- I recommend using the 3-2-1 backup method: 3 copies on at least 2 different devices and one of them kept offsite. Offsite can be in the cloud or for example a portable hard drive kept at a friend’s house, in a bank safety box, at your workplace, etc. I like to use portable drives for backup copies because they are quite small but not as easy to lose and damage as USB sticks. Archival CDs/DVDs are another option. Again, if you use a cloud service invest some time in research and always read the small print (rule of thumb: anything that’s free will not be a great solution).
- Print the most important digital photos as a backup. Printing a photo book counts as a print and backup, too.
- Once everything is in one place and backed up it is time to sort and organize the photo collection – if you have the time. Add metadata such as keywords, locations, descriptions, etc.
Please note that any backup solution has pros and cons and that there is no one-size-fits-all solution. It will depend on your individual need and situation as to which is the best match for you.
Scenario 2: Grab and Run
As mentioned before, going through the whole process is very time consuming and might not be realistic at this point in time. In that case, I suggest moving your photos to safety if you can. Where exactly this will be, depends on the circumstances. If you’re preparing for a hurricane, it won’t be the same as preparing to evacuate from a forest fire.
- The first step will be to gather everything and box it up. I recommend smaller rather than larger boxes because they will be much easier to carry, transport, and store. Make sure to store loose prints in archival boxes. If they are standing up, don’t keep them too loose or they will start bending. You might even want to throw in a silica gel bag to keep moisture in check. If you are preparing for a hurricane or floodwaters, wrap everything in plastic before putting it into containers.
- There are fire and water resistant bags and cases. They are usually not very big but great for things like USBs, hard drives, or even documents.
- If you can’t store these things away from home keep them near the exit so you can grab the boxes and run if need be. Attics and basements are not a good idea; it is far too difficult to get anything out of there in a hurry.
If you are preparing for a hurricane or floodwaters, make sure that your bins are not kept on the floor but rather a bit higher up, e.g. on a shelf in your wardrobe. As Kathy Rogers suggests in her post, keeping them in a closet will make sure that the containers are not going to float away or tip. - In the light of recent hurricanes Harvey and Irma, a wrong hack recommending storage of documents and photos in a dishwasher went viral. PLEASE DON’T DO THIS! It is not safe for various reasons.
- If you choose to store it all away from home, you might consider renting a storage unit. Obviously, nothing is 100% sure but think about location when you pick a storage unit. If you live in a flood-prone area, a unit close to a river is probably not the ideal spot. Also keep it far enough from home but not too far. Think practicality.
- You might be able to store things at a friend’s house. Again, having everything scanned is an advantage because if you have, you might not have to or want to move your albums but rather leave them at home. Asking a friend to store an external hard drive will be much more successful than having to ask somebody to keep 10 boxes full of albums or pay a lot of storage fees.
One last tip: write down your emergency plan and include a description of where you store your photos. Give a copy of that to one or several trusted people so that they can access your photos if you – for whatever reason – cannot go to retrieve them.
By the way, everything mentioned in this article also applies to important documents such as passports, birth certificates, etc. Treat them like photos as you prepare for a possible natural disaster or man-made disaster, and you’ll have even more peace of mind!
 Living in a beautiful but also very fire prone area outside Melbourne, Australia has triggered Chantal Imbach’s passion for keeping photo collections safe and organised so they can be passed on to future generations in a meaningful way.
Starting out as a home declutterer and organizer, she now specialises in digital photo organizing and shares more of her tips in her blog at Simply In Order.
Thankyou for all your information! I am in the process of gathering all my photos, albums, USB, IPad, phone and anywhere I might have stored them. I am at this time in my life trying to de clutter and organize everything. I notify my daughter every time where I place important things. I have also made a document of “Where Is It!” I also document important info into my external drive. I am 83 and do not plan to trust my memory! Thanks again, as I have niece in California who recently was pulled out of her house just before her house went up in flames. She was sound asleep when she was rescued with only the pjs she had on. Her house went down to the ground. She had a safe built in the basement floor, which was completely destroyed. I had just called her workplace to thank her for something when her friend who answers the phone told me of her situation as she had just left the building. She was notified of my call and I was so glad she was ok. I asked her where was her husband? She said he was fishing. She asked me if I would gather up some pictures of the family, etc. as she has nothing left! So, I know exactly what you were talking about. I live in Sebastian, Florida, very lucky to miss the tornado warning we received the last hurricane threat. According to the weather station showing the direction of the tornado, which was heading in direction. Never was I so glad to hear it died in the water. I had a friend, her two dogs and her cat staying my house. I do not drink but I sure wish I had one then.