
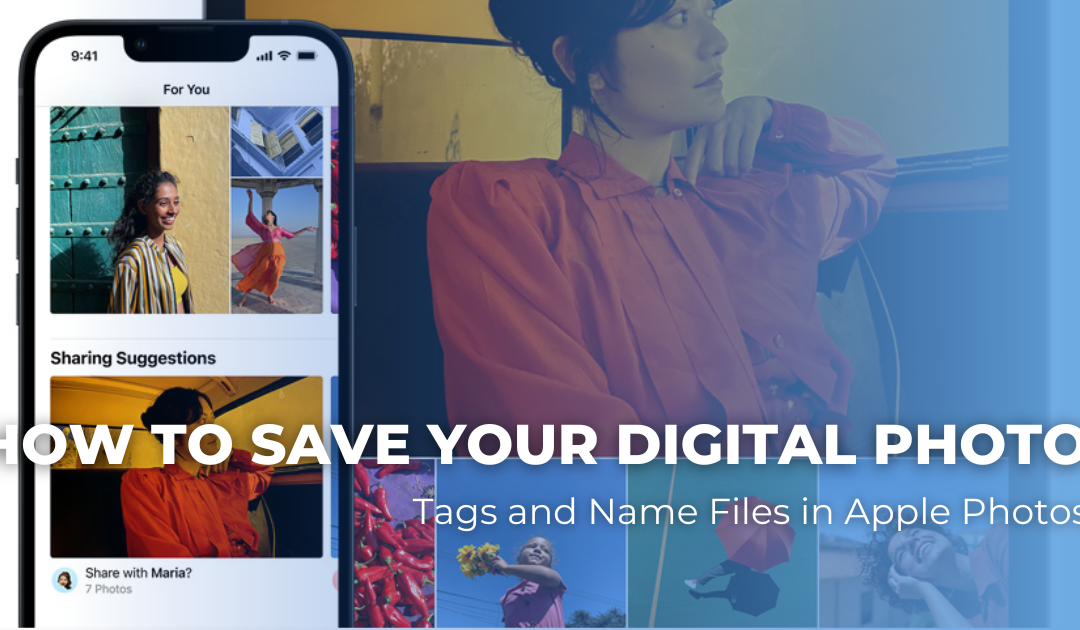
A big part of organizing digital photos is labeling, tagging, and regrouping images.
To have long-term meaning, digital photos need correct digital labeling and tagging. This preserves dates and other information like an event or a person’s name – the kinds of things we used to write on the back of our printed photos. In the digital age, we call this information “metadata.”
The process of adding and systematizing your photo metadata takes time and careful attention to detail. And if you lose any information you attach to digital photos, it can be incredibly frustrating.
For beginners working in Apple Photos, adding and changing photo metadata can seem like an impossible task. So how can you ensure the information you’ve added to them “sticks” no matter what?
Are your changes really being “saved”?
Intuition would tell you that by adding tags or changing a file name on an image from your computer, the information would automatically be saved and stored somewhere on the cloud.
You’d think the next time you go to download, share, or move that photo, anything you’ve added would go with it. However, that’s not always the case.
The thing is that metadata may be added directly to the image or it may be added to a database (like Apple Photos, Photoshop Elements, Adobe Lightroom Mobile, etc.) and associated with the photo without actually being a “part” of it.
According to Photo Pro Paul Einarsen, “Modern photo software like Apple Photos is designed to preserve photos exactly as they were captured or imported to avoid accidentally altering or damaging the original image. When you make any additions (whether that be color adjustments or changes to the data, like a file name change) to an image, you are actually making the change to the software that just references the image.”
In short, you’re not actually changing anything about the image file itself. So depending on how you share, export, or copy your digital photos, that metadata may or may not be included.
How to Save Your Metadata in Apple Photos
To ensure that your metadata stays with the photos when sharing, always use the built-in sharing/exporting features of the software rather than copy/paste or drag/drop from the Library or Catalog.
As easy as it may seem, using Apple’s “shared albums” won’t do you any favors, either, if you’re hoping to preserve your metadata and may actually reduce the quality of your images. Instead, you’ll have to export and share everything natively from your computer.
From a Mac computer, follow these steps:
- Select the images, folder, or album you want to copy.
- Click “File” along the menu bar and choose “Export from the Photos.”
- Do NOT choose Originals and check the data fields you want to be added to the images when they export. Then you’ll be prompted where to save them.
Stay Smart and Save Your Information
Saving metadata information on your photos can be helpful when you’re working to get organized. But if you’re not careful, all your hard work will be lost when you move or share your photos.
Follow the steps above to ensure your metadata is safe and saved.
Not sure where to start or feel overwhelmed by your photo organizing project? Let a Certified Photo Manager help. Check out our directory of Certified Pro Managers to find help near you.
Recent Comments